Valentine's Day Inspo | Three Ways to Wrap a Bouquet
We all love a little homemade gift, especially when it comes to showing your nearest and dearest a little love on that flower-filled day that’s just around the corner - St Valentine's Day.
Whether you’re a seasoned designer or it’s your first time arranging, we’ve put together a few wrapping ideas for you.
Source yourself some seasonal, locally grown blooms and pick your favourite wrap for that final finesse.
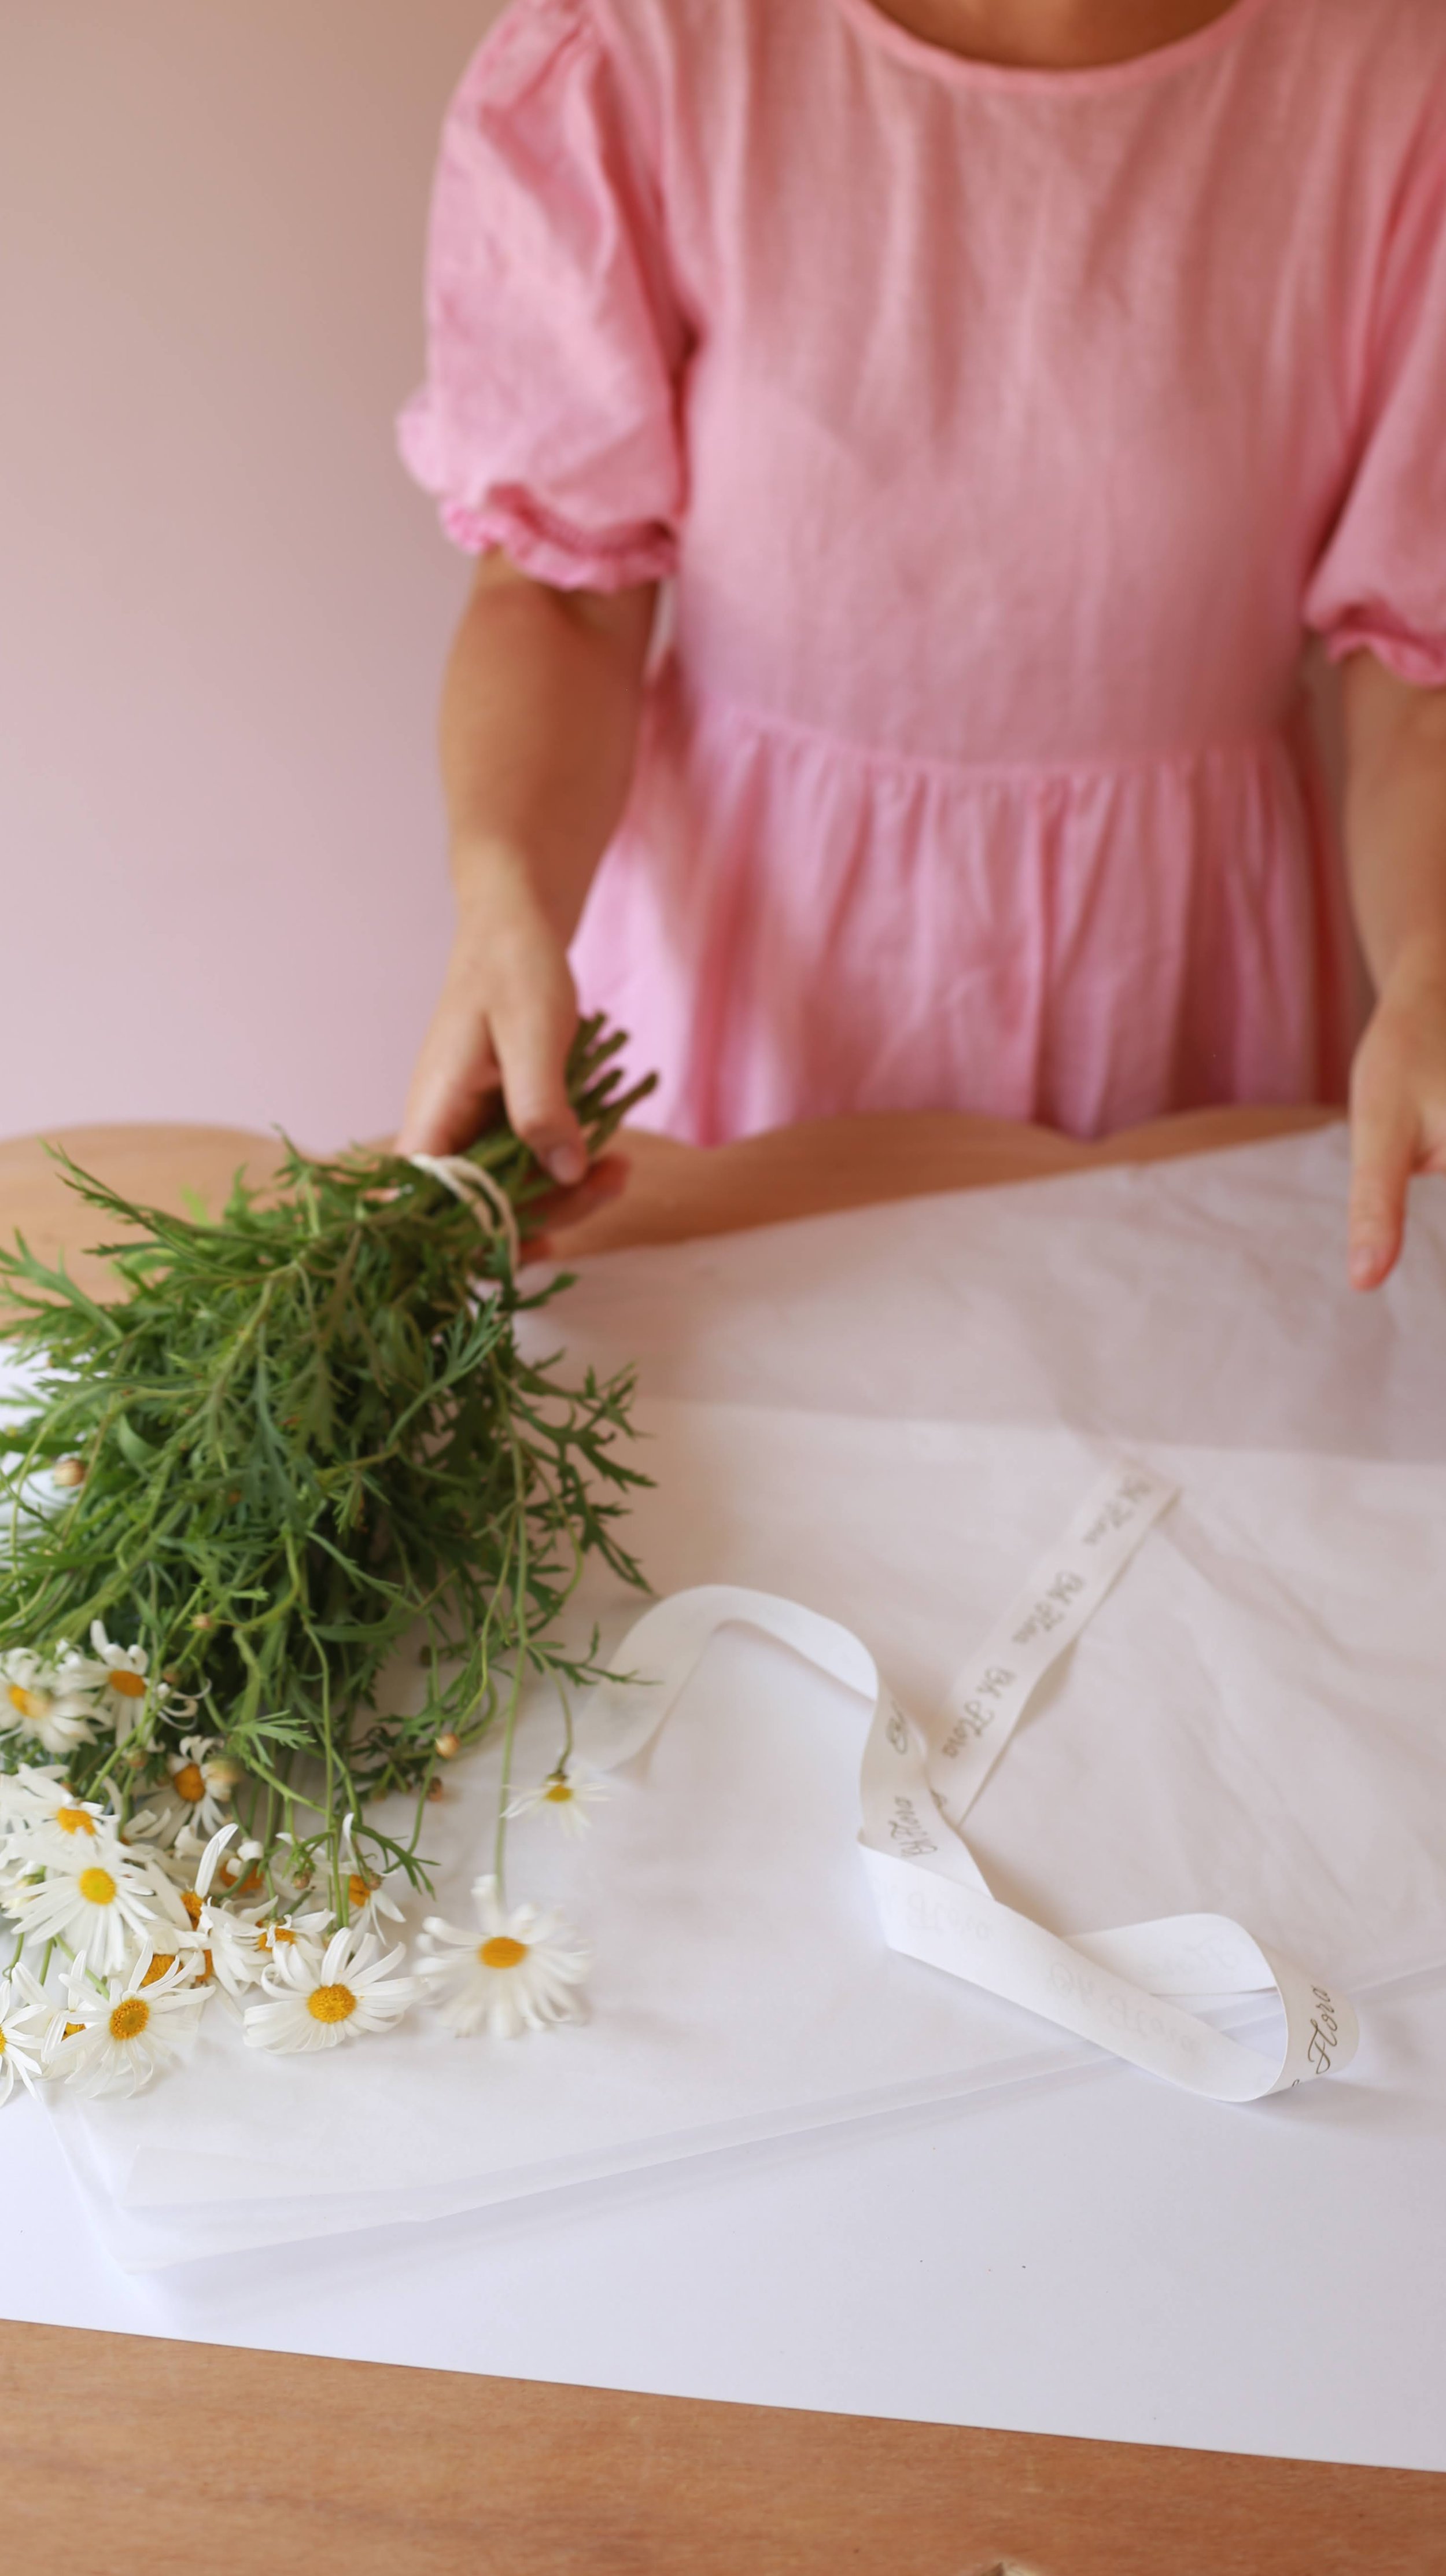

Market Bouquet Wrap
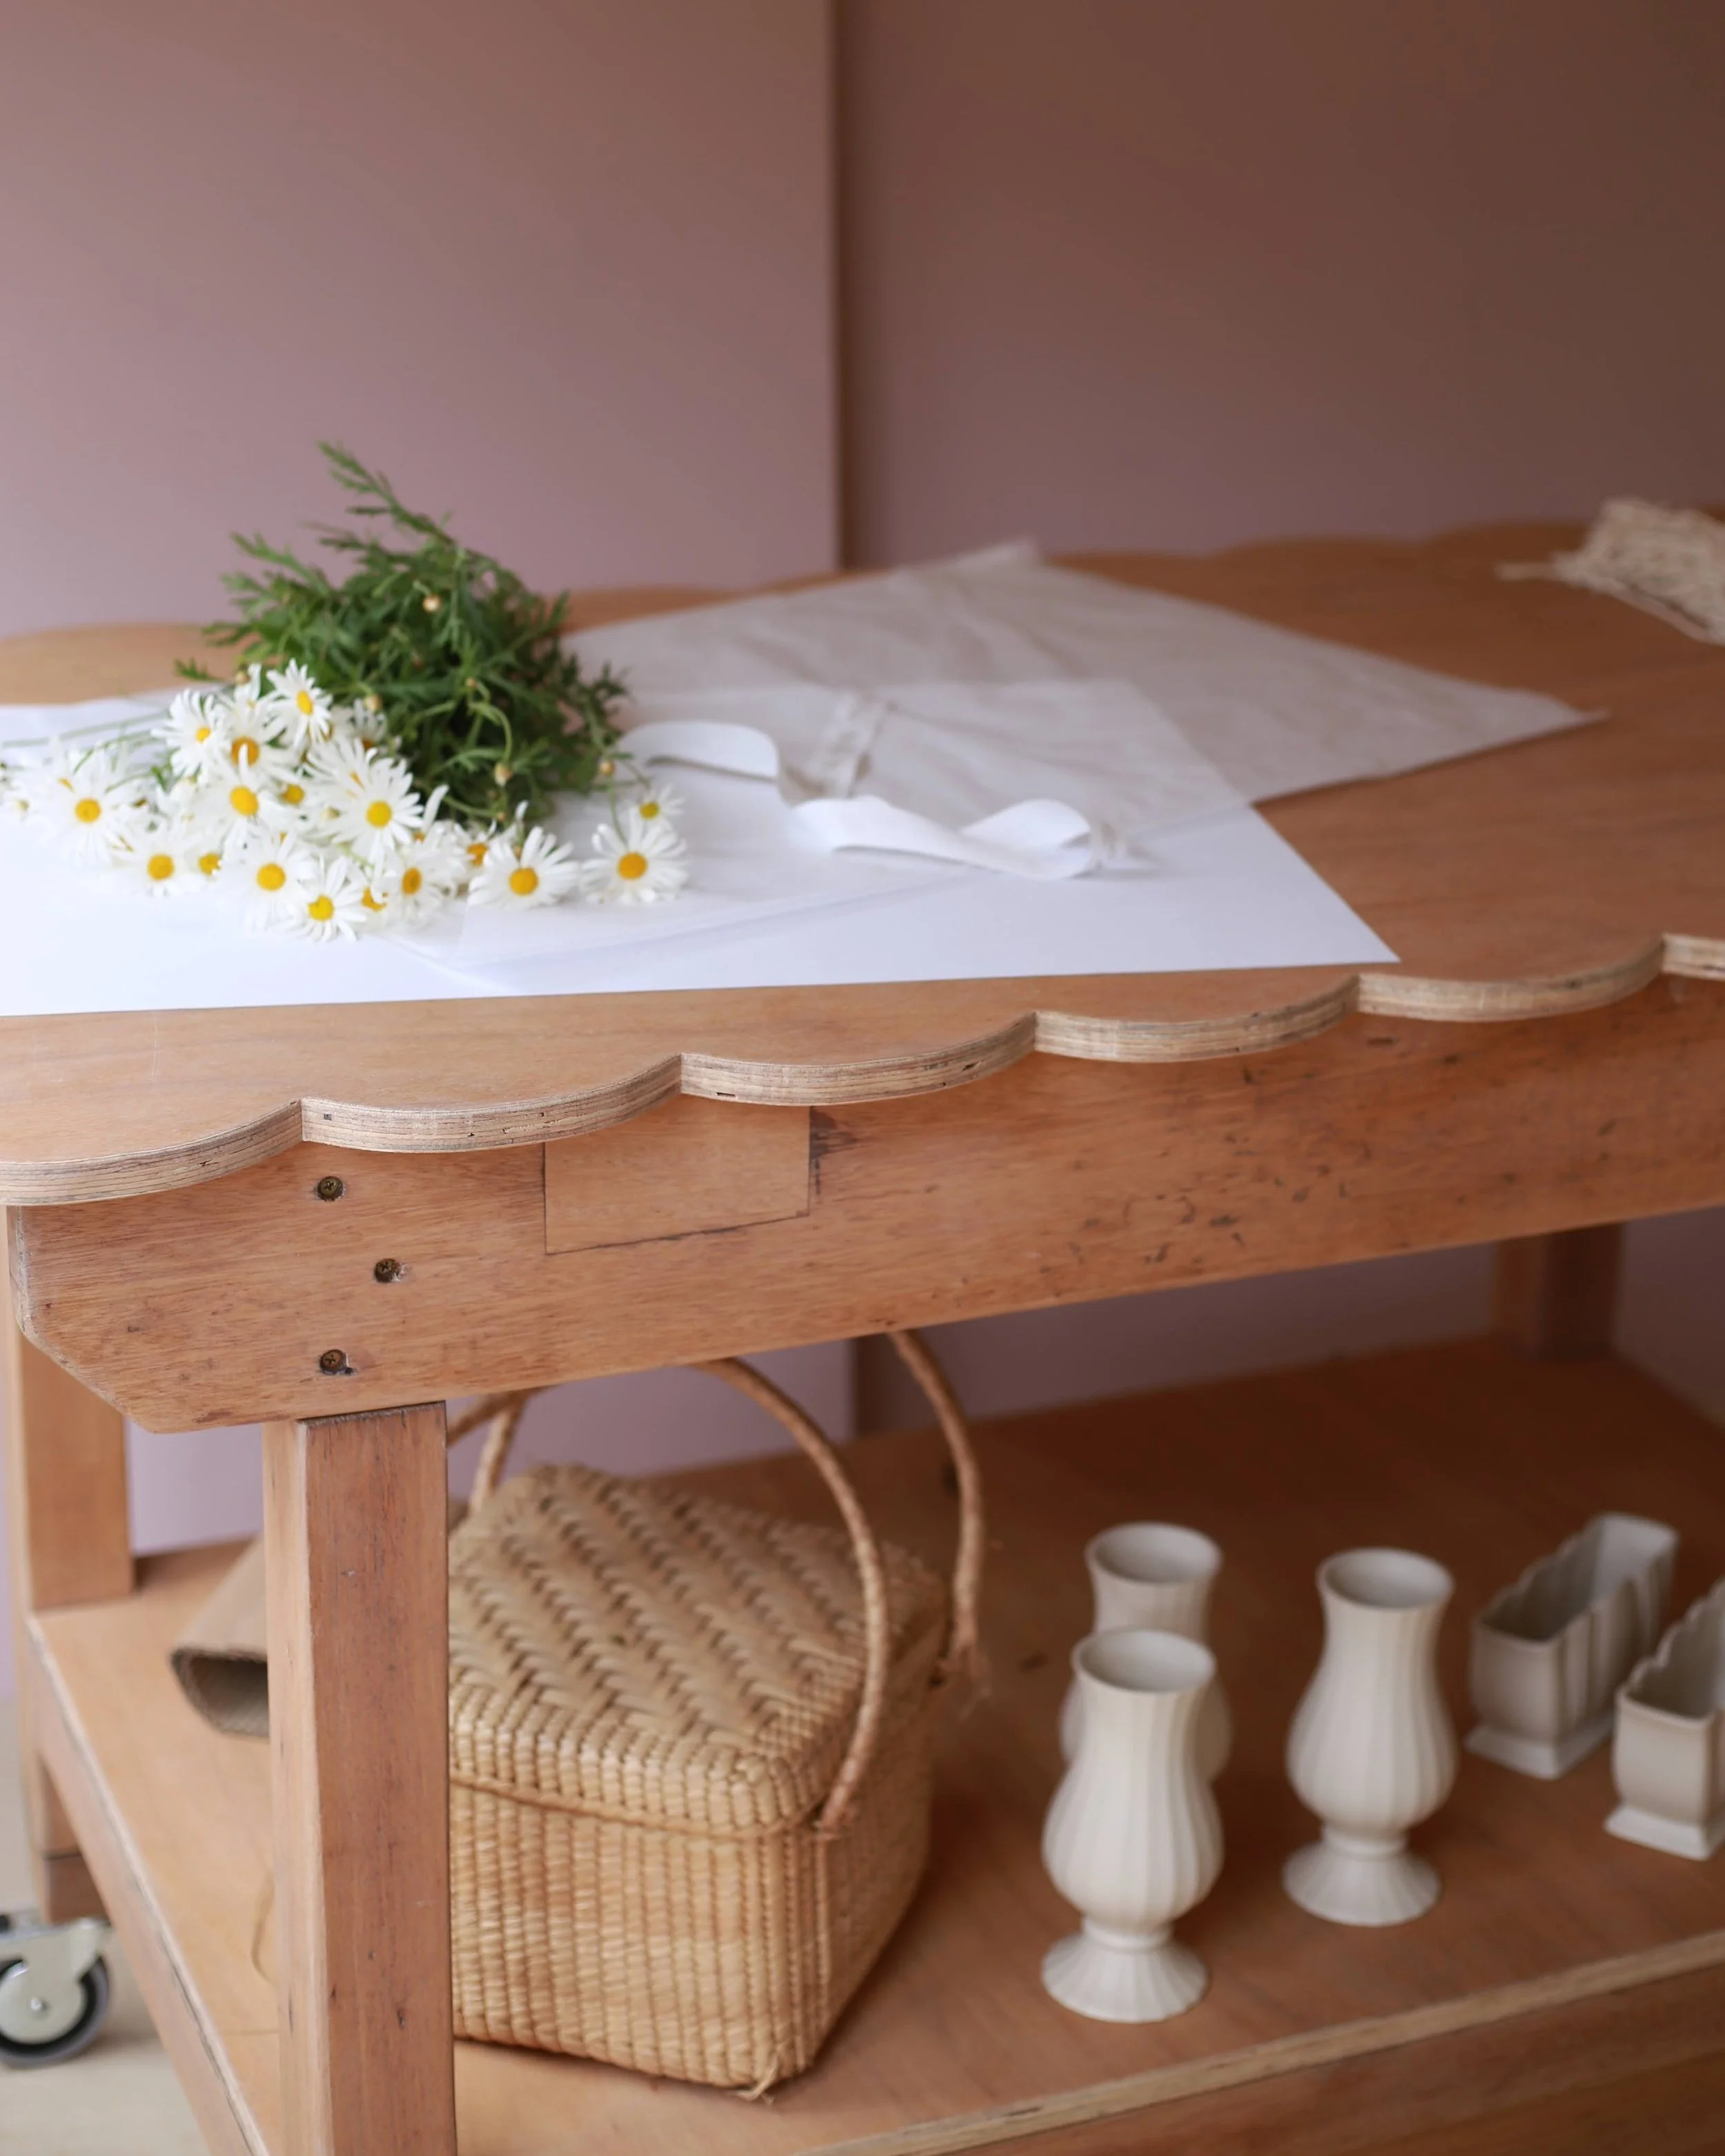
You will need one sheet of paper and some ribbon
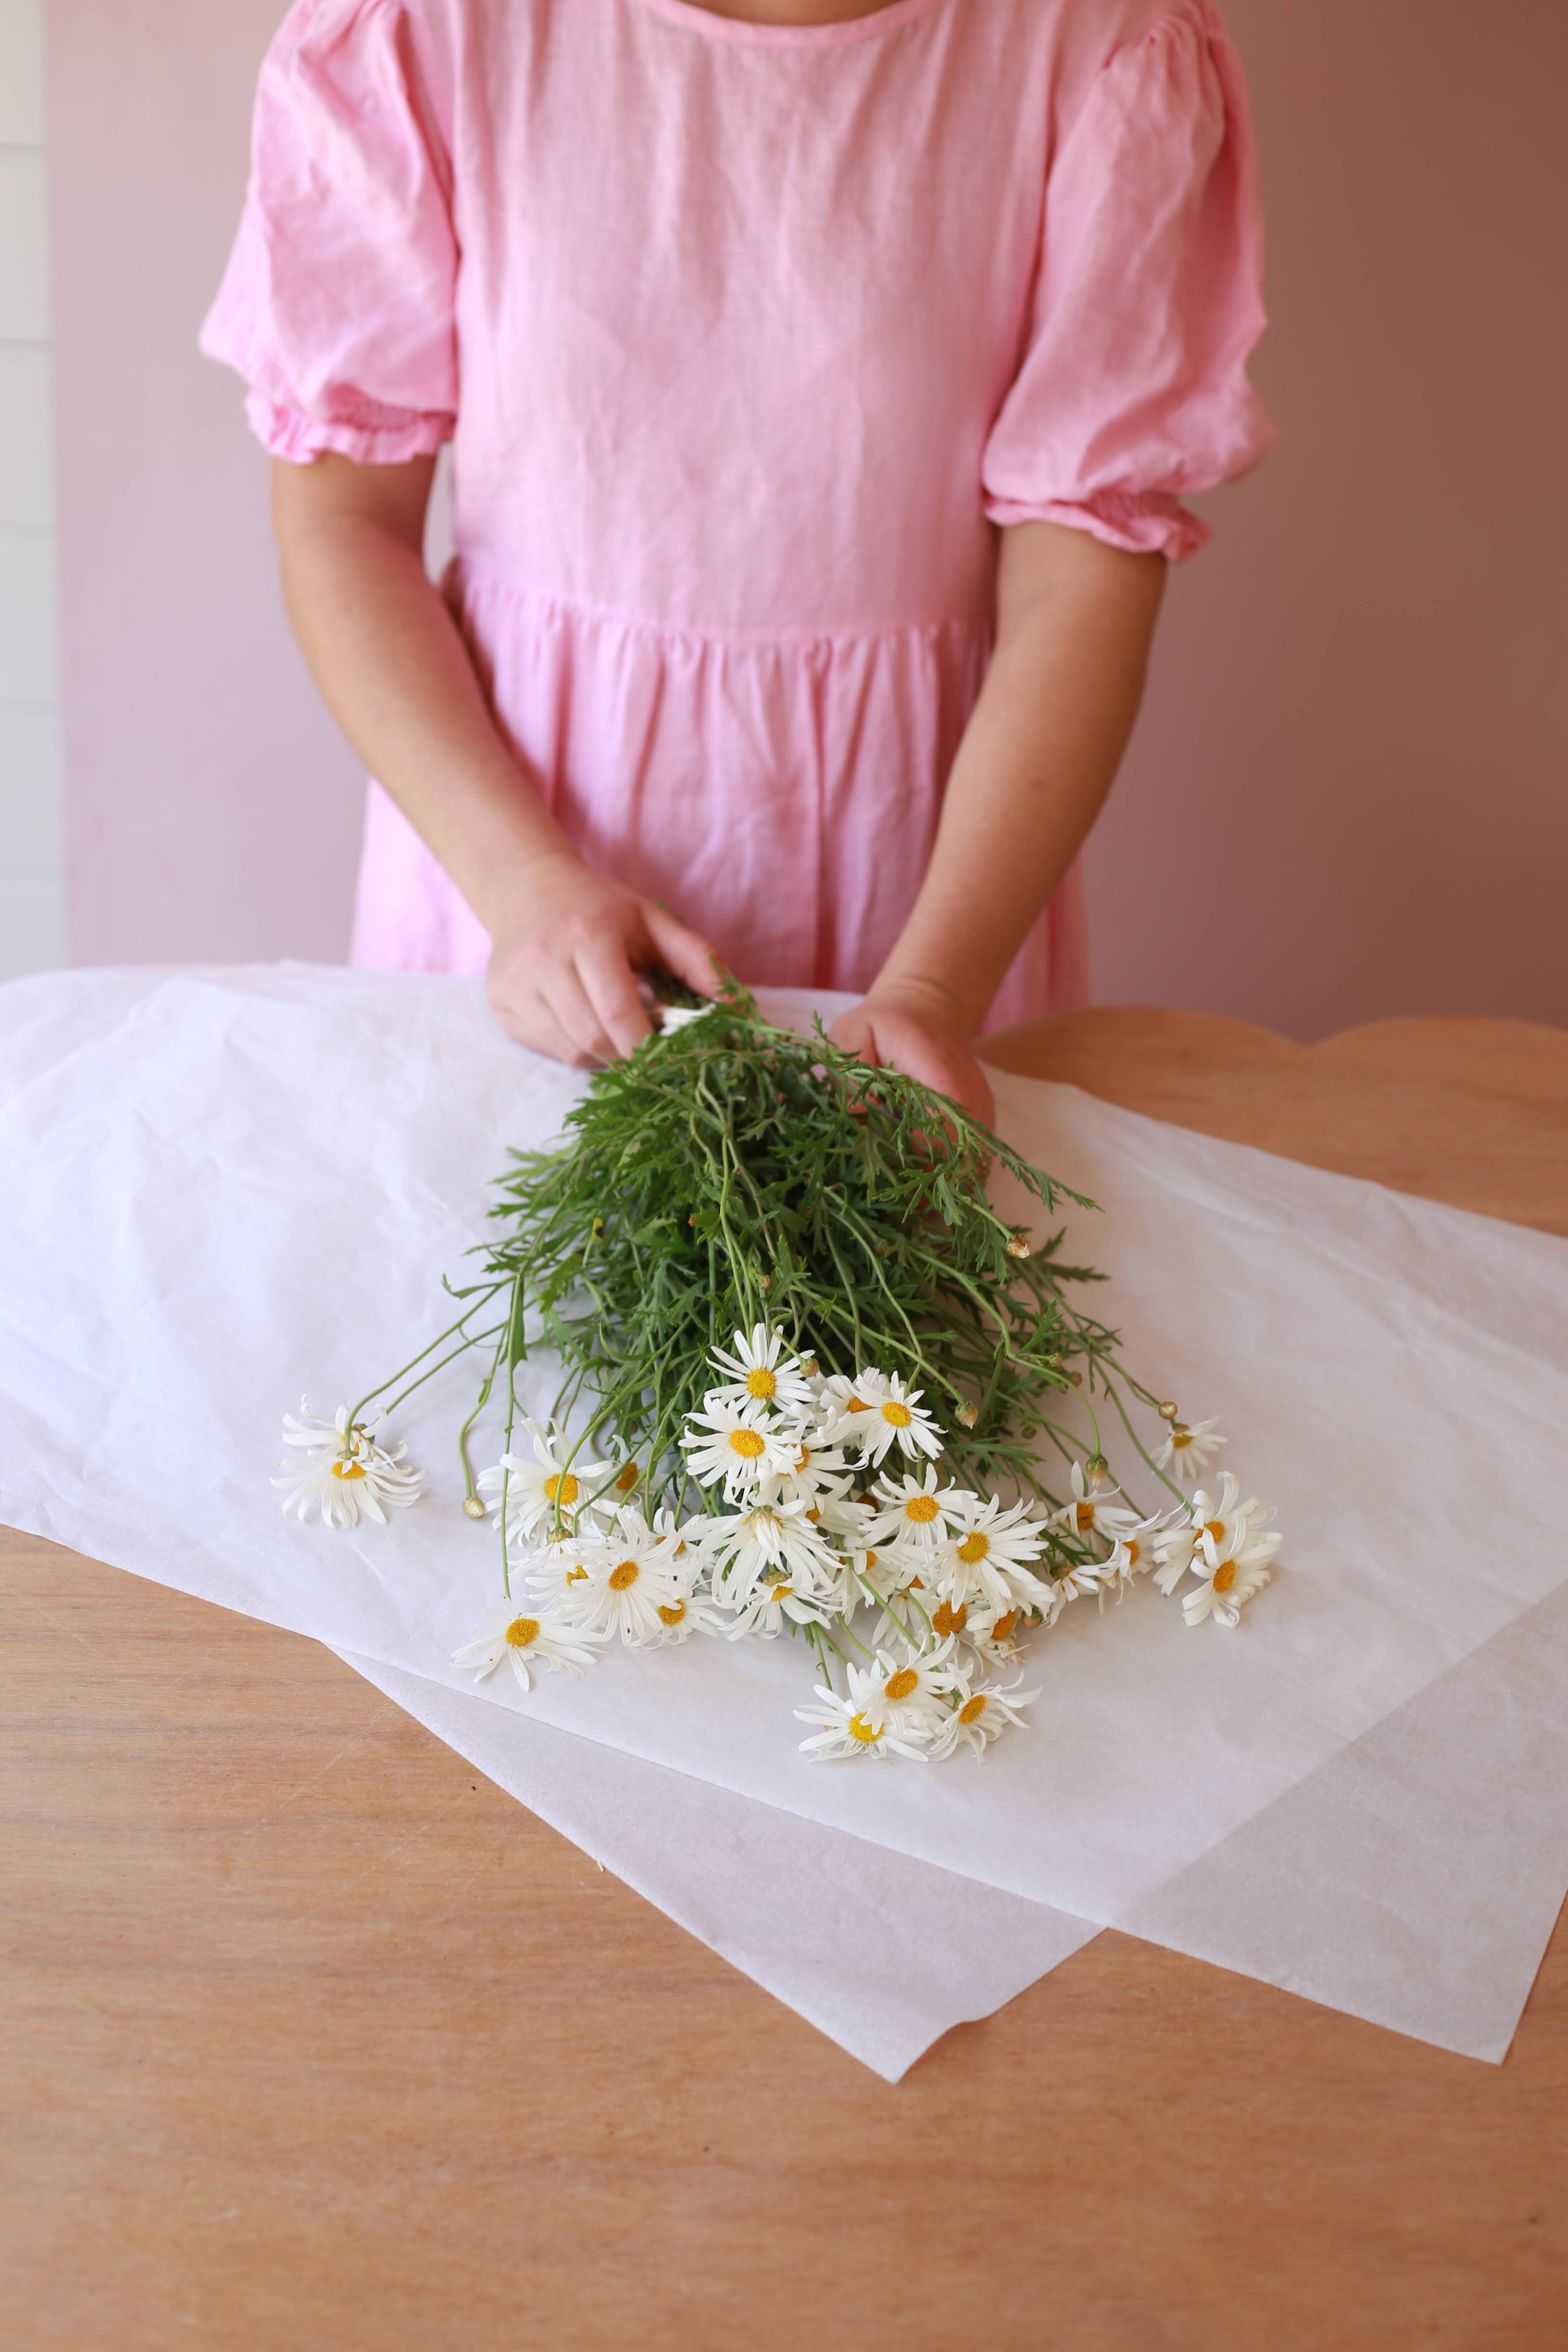
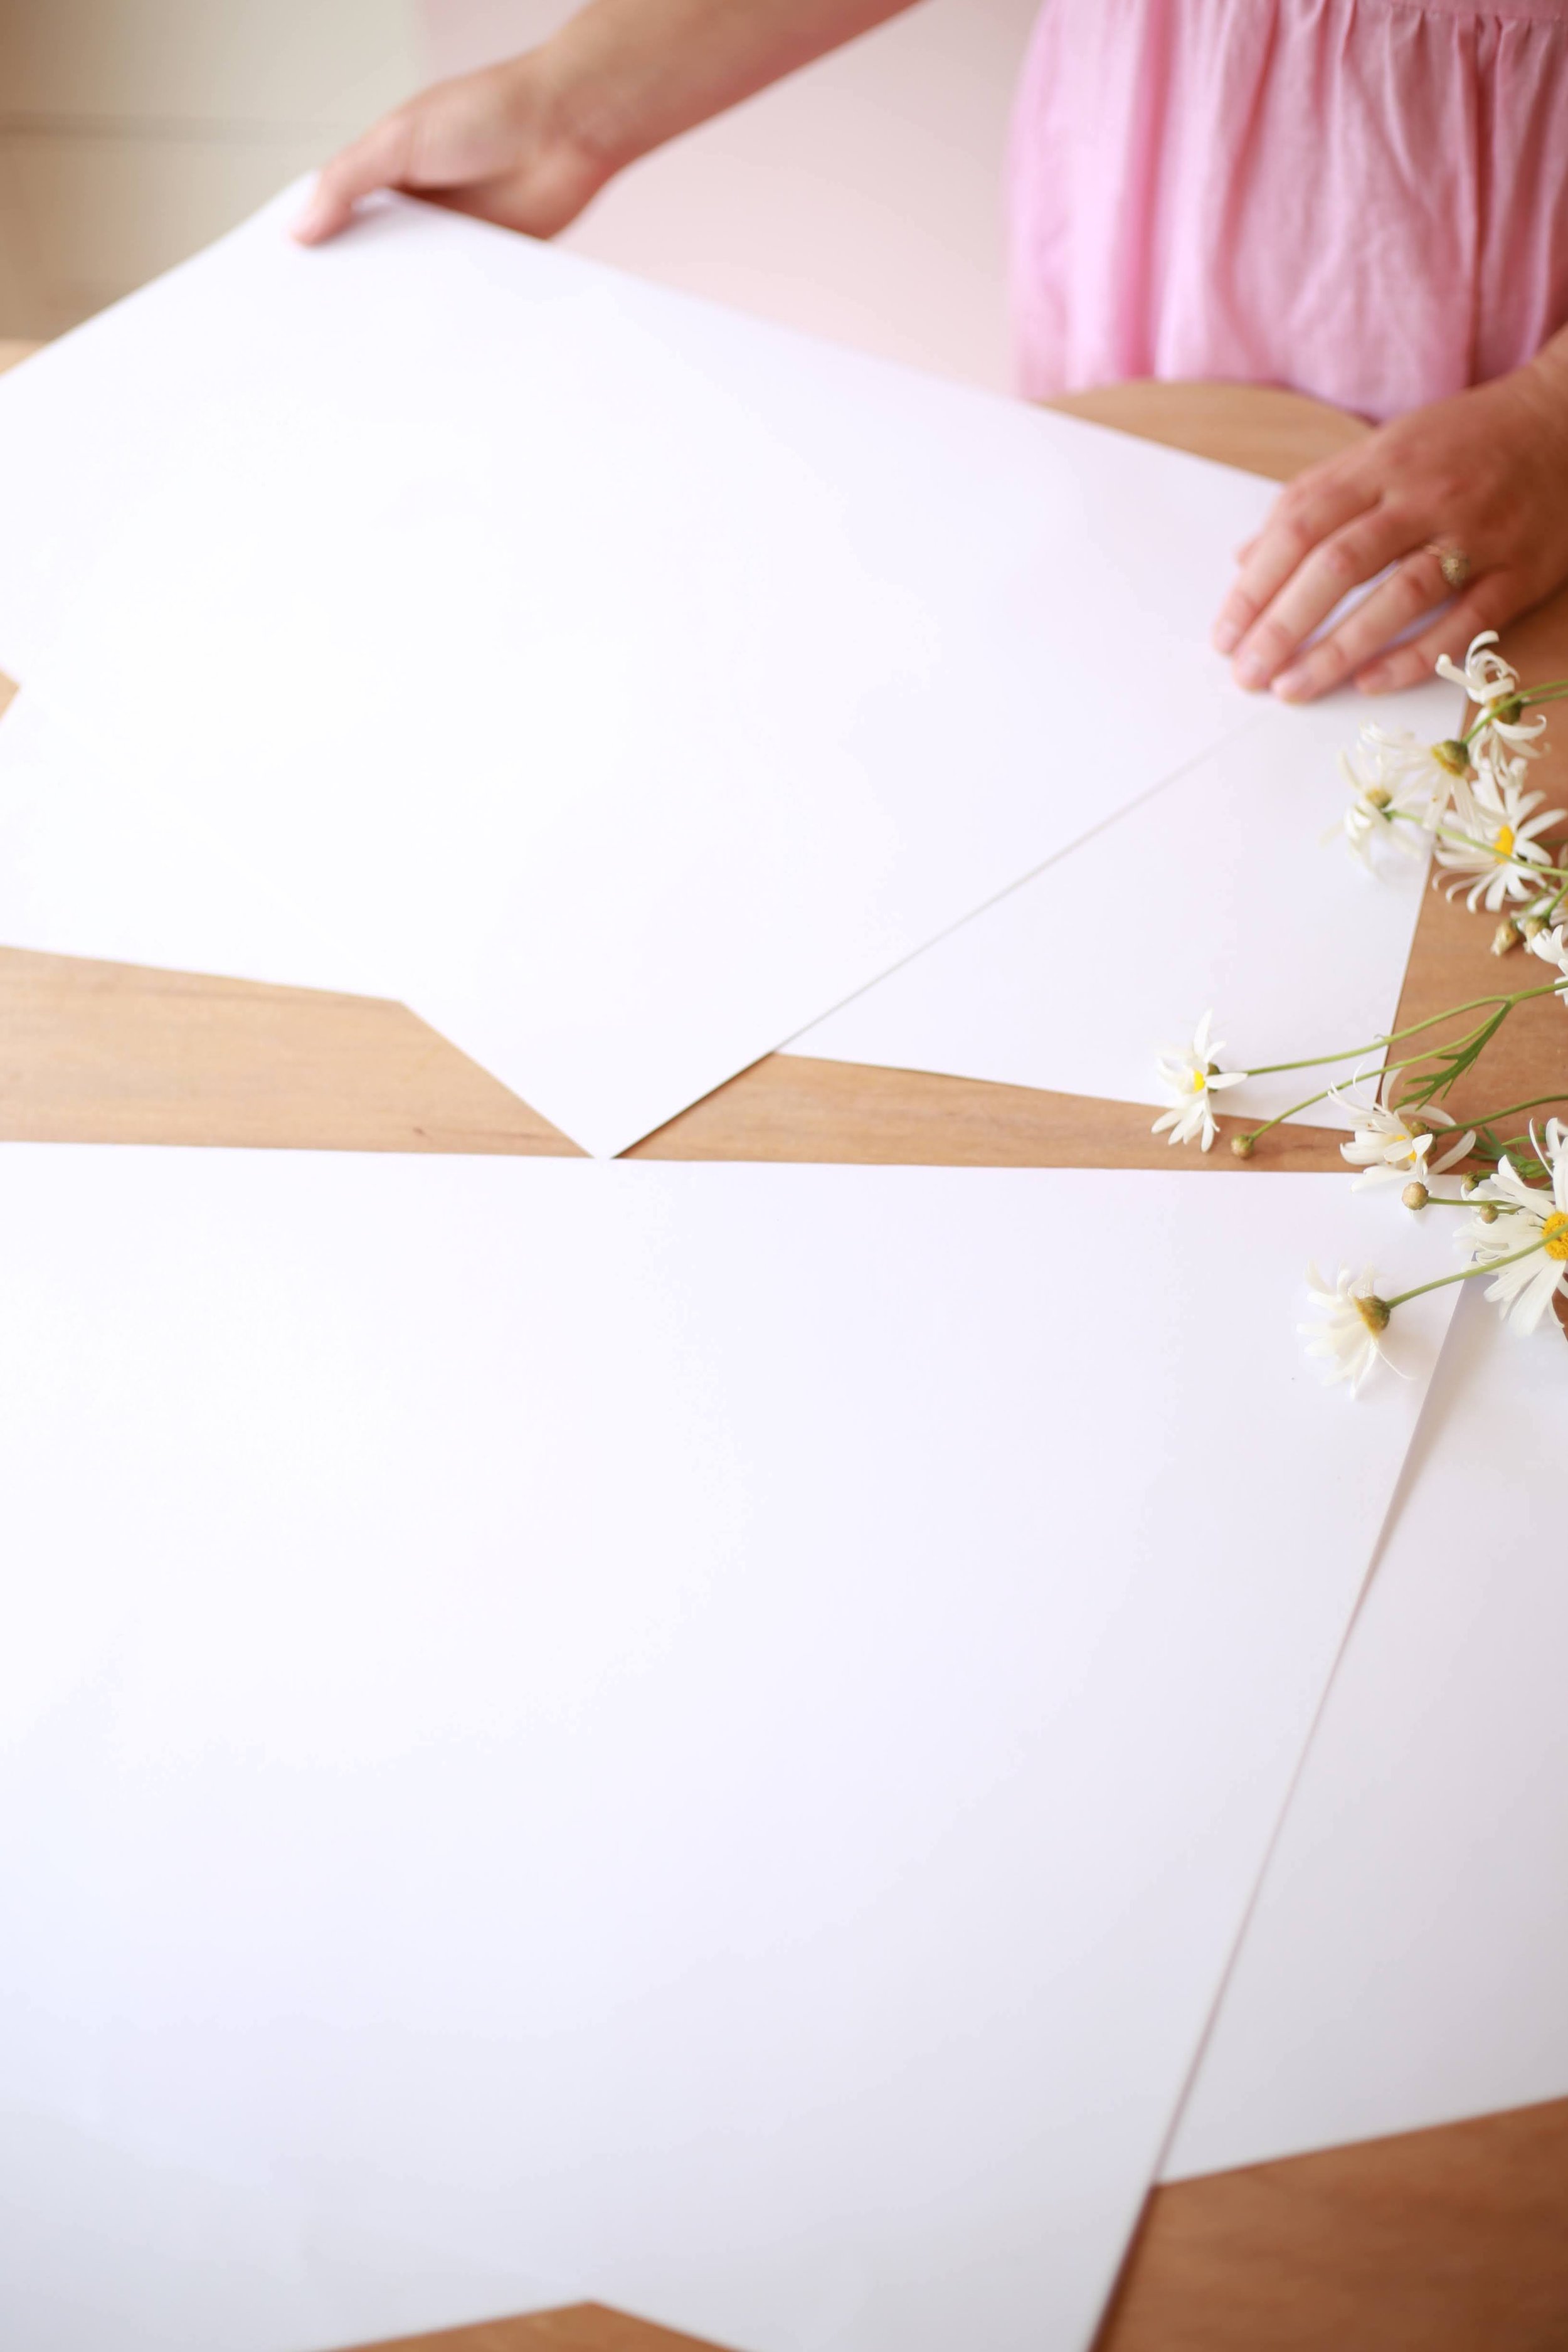
Lay out your sheet of paper on a clean bench, and position your arrangement diagonally across the paper so that the top of your arrangement sits just at the top left-hand corner and the bottom of the arrangement is to the right-hand side of your sheet.
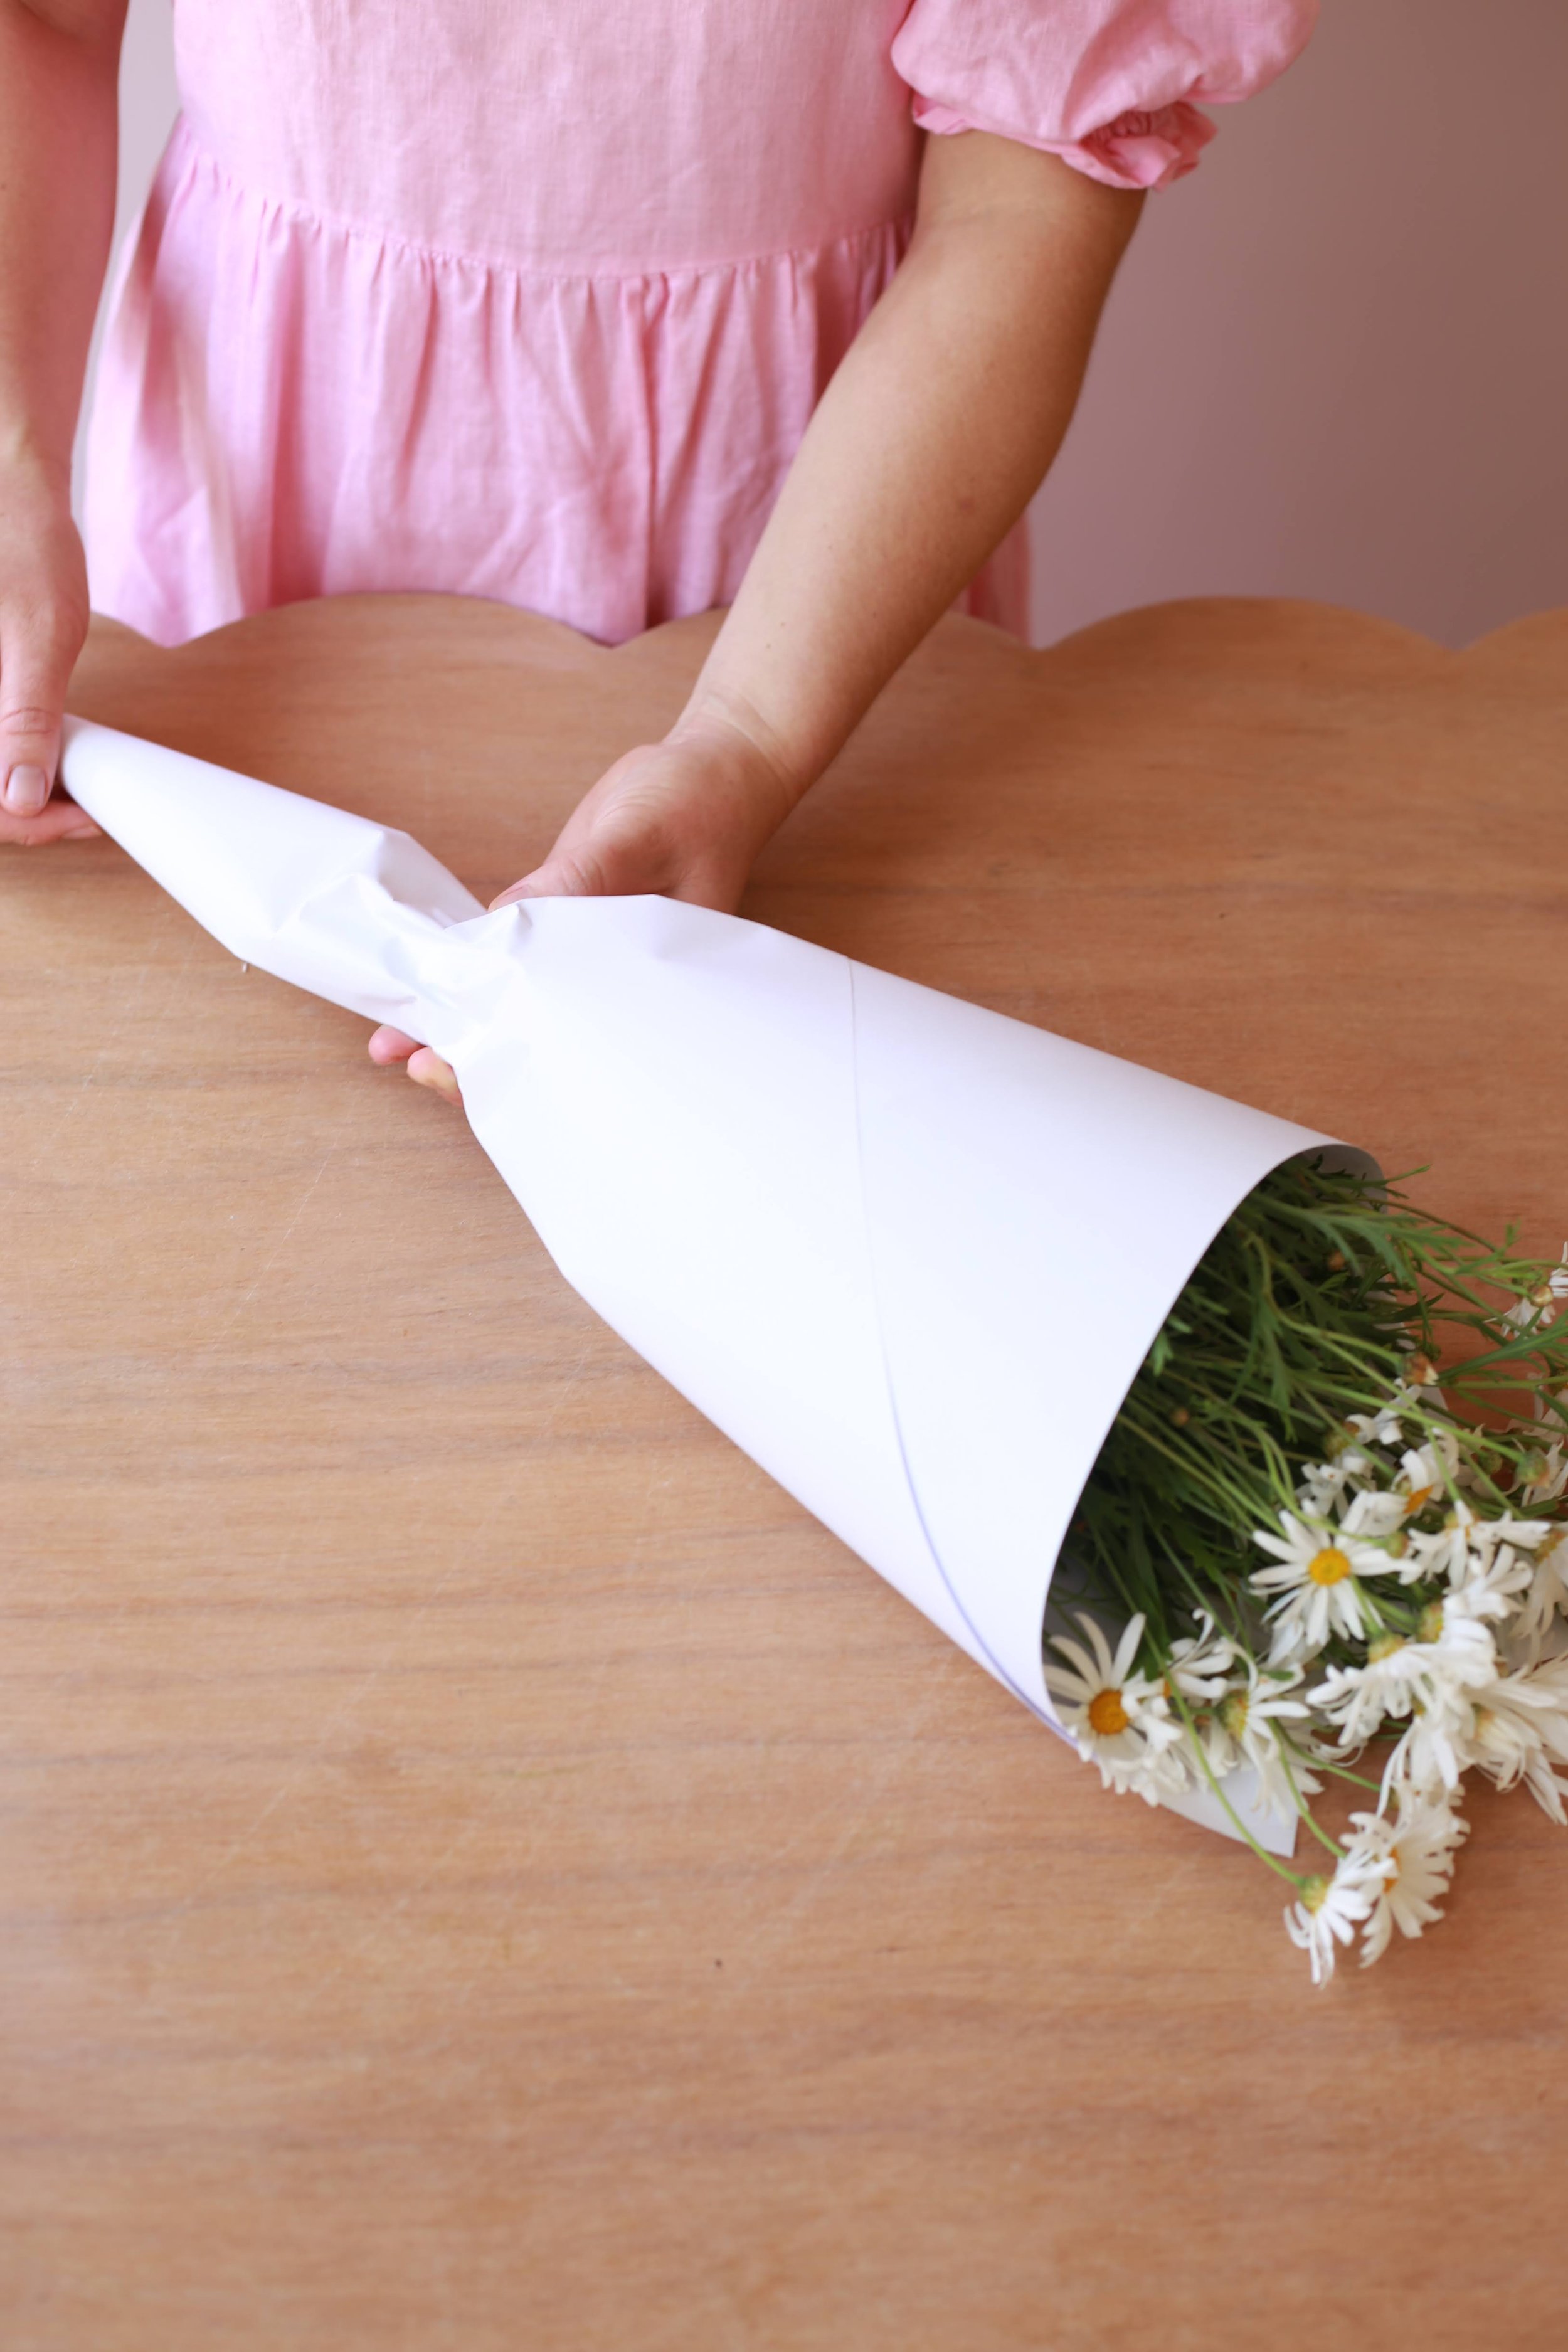
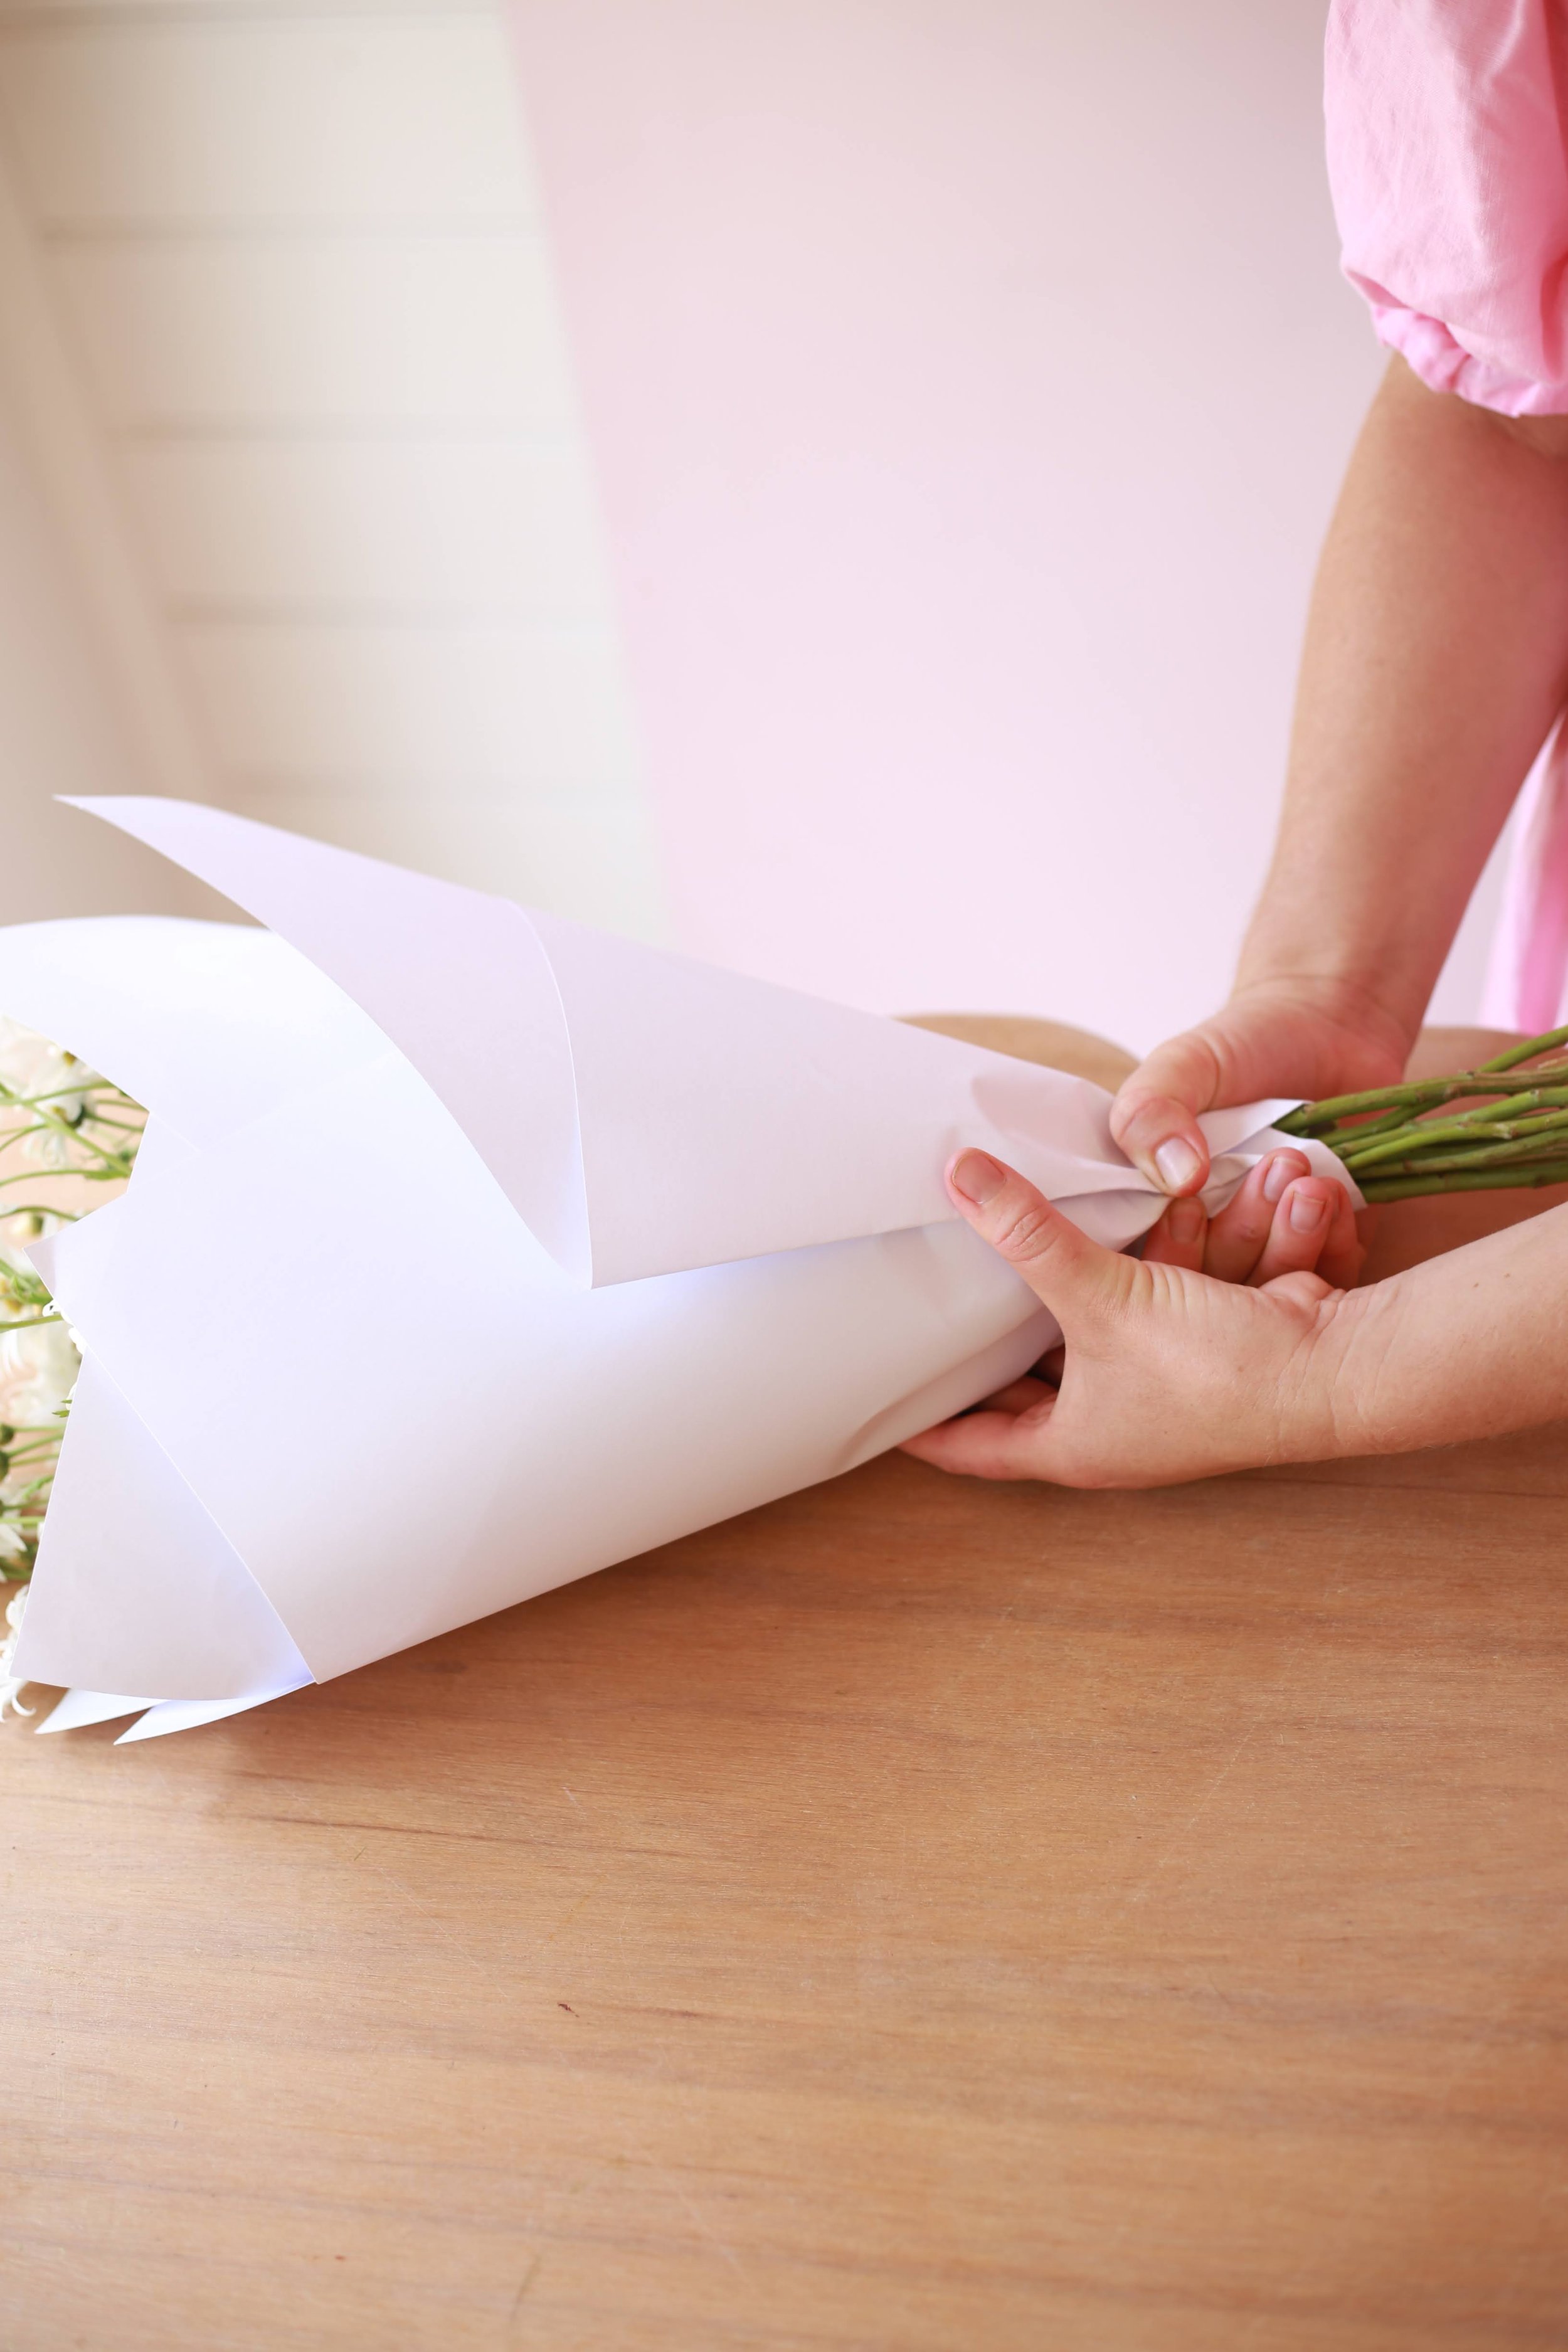
Very gently fold the bottom left-hand corner of your paper across the arrangement (it should sit just a little below the flower heads) so that you form the start of your cone shape - be sure to think about how loose or tight you would like your bouquet to look at this point.
Continue to roll your paper into a cone shape.
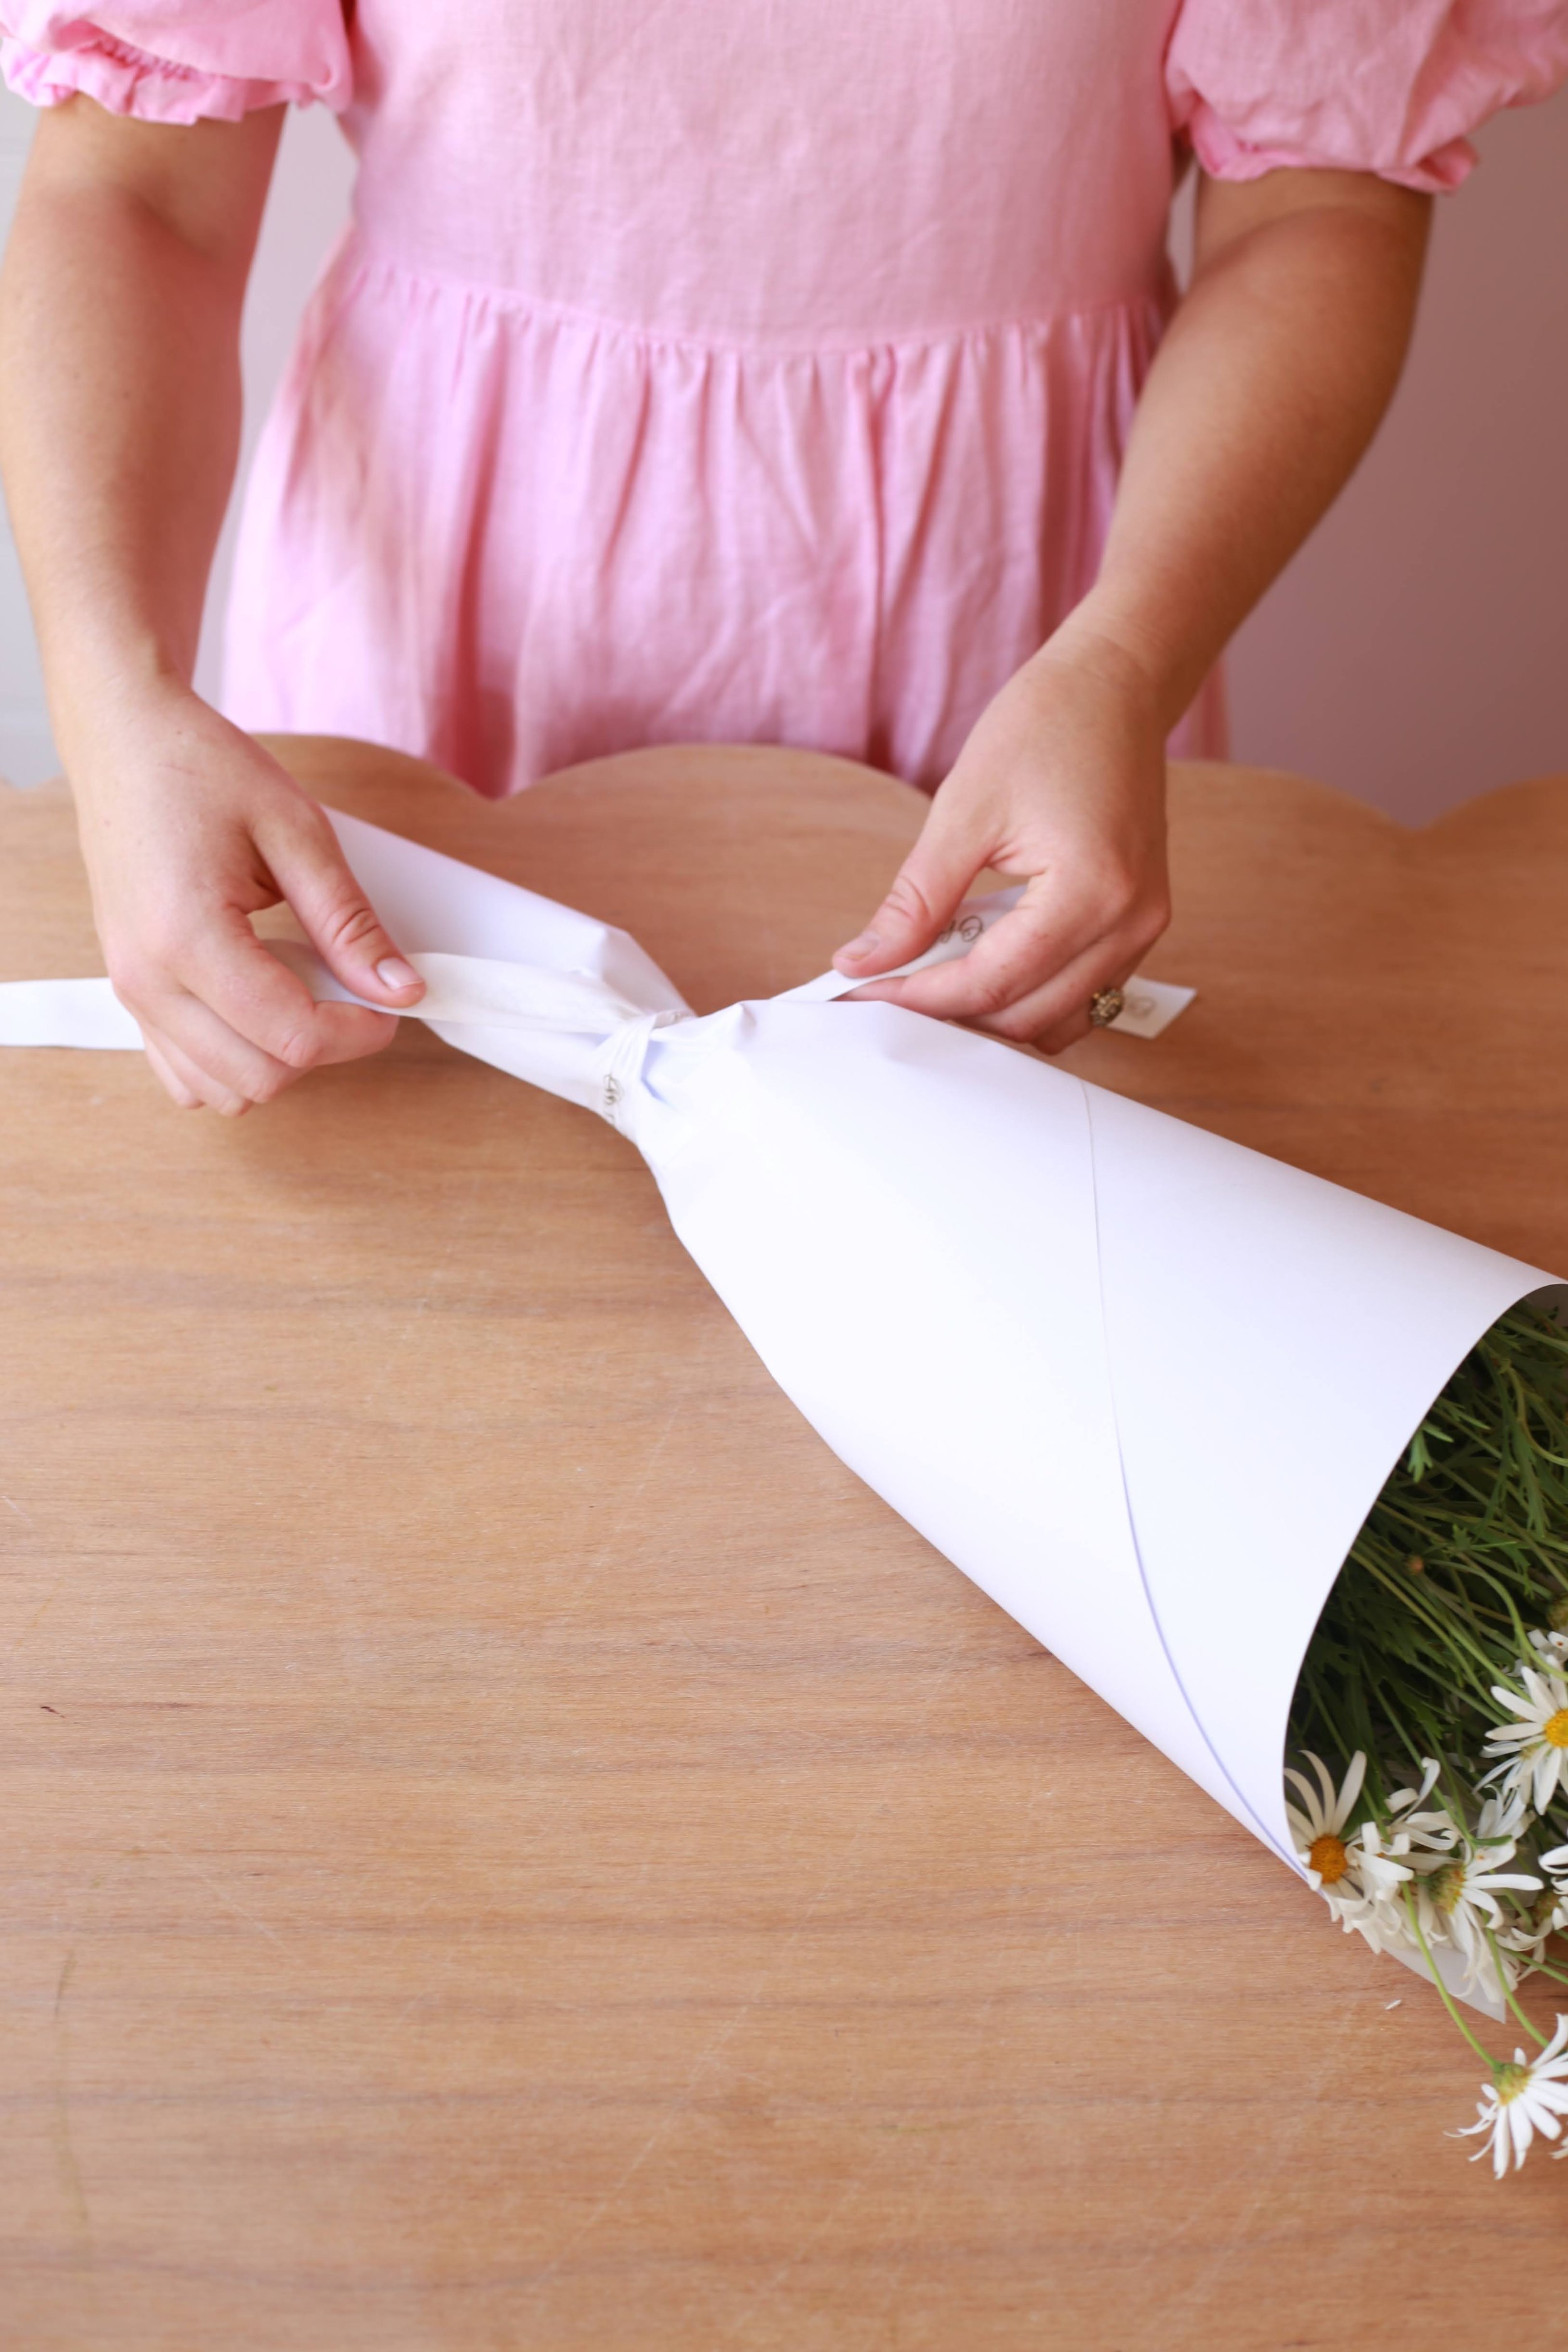
Once you are happy with your shape, find your binding point (where your ribbon will sit) and use your hand to “scrunch” the paper in at that point.
Use your favourite ribbon to tie a beautiful but simple bow at the binding point and be sure to cut the ends neatly for that extra detail.


2. Gathered Bouquet Wrap
You will need two sheets of tissue paper, two sheets of paper and ribbon
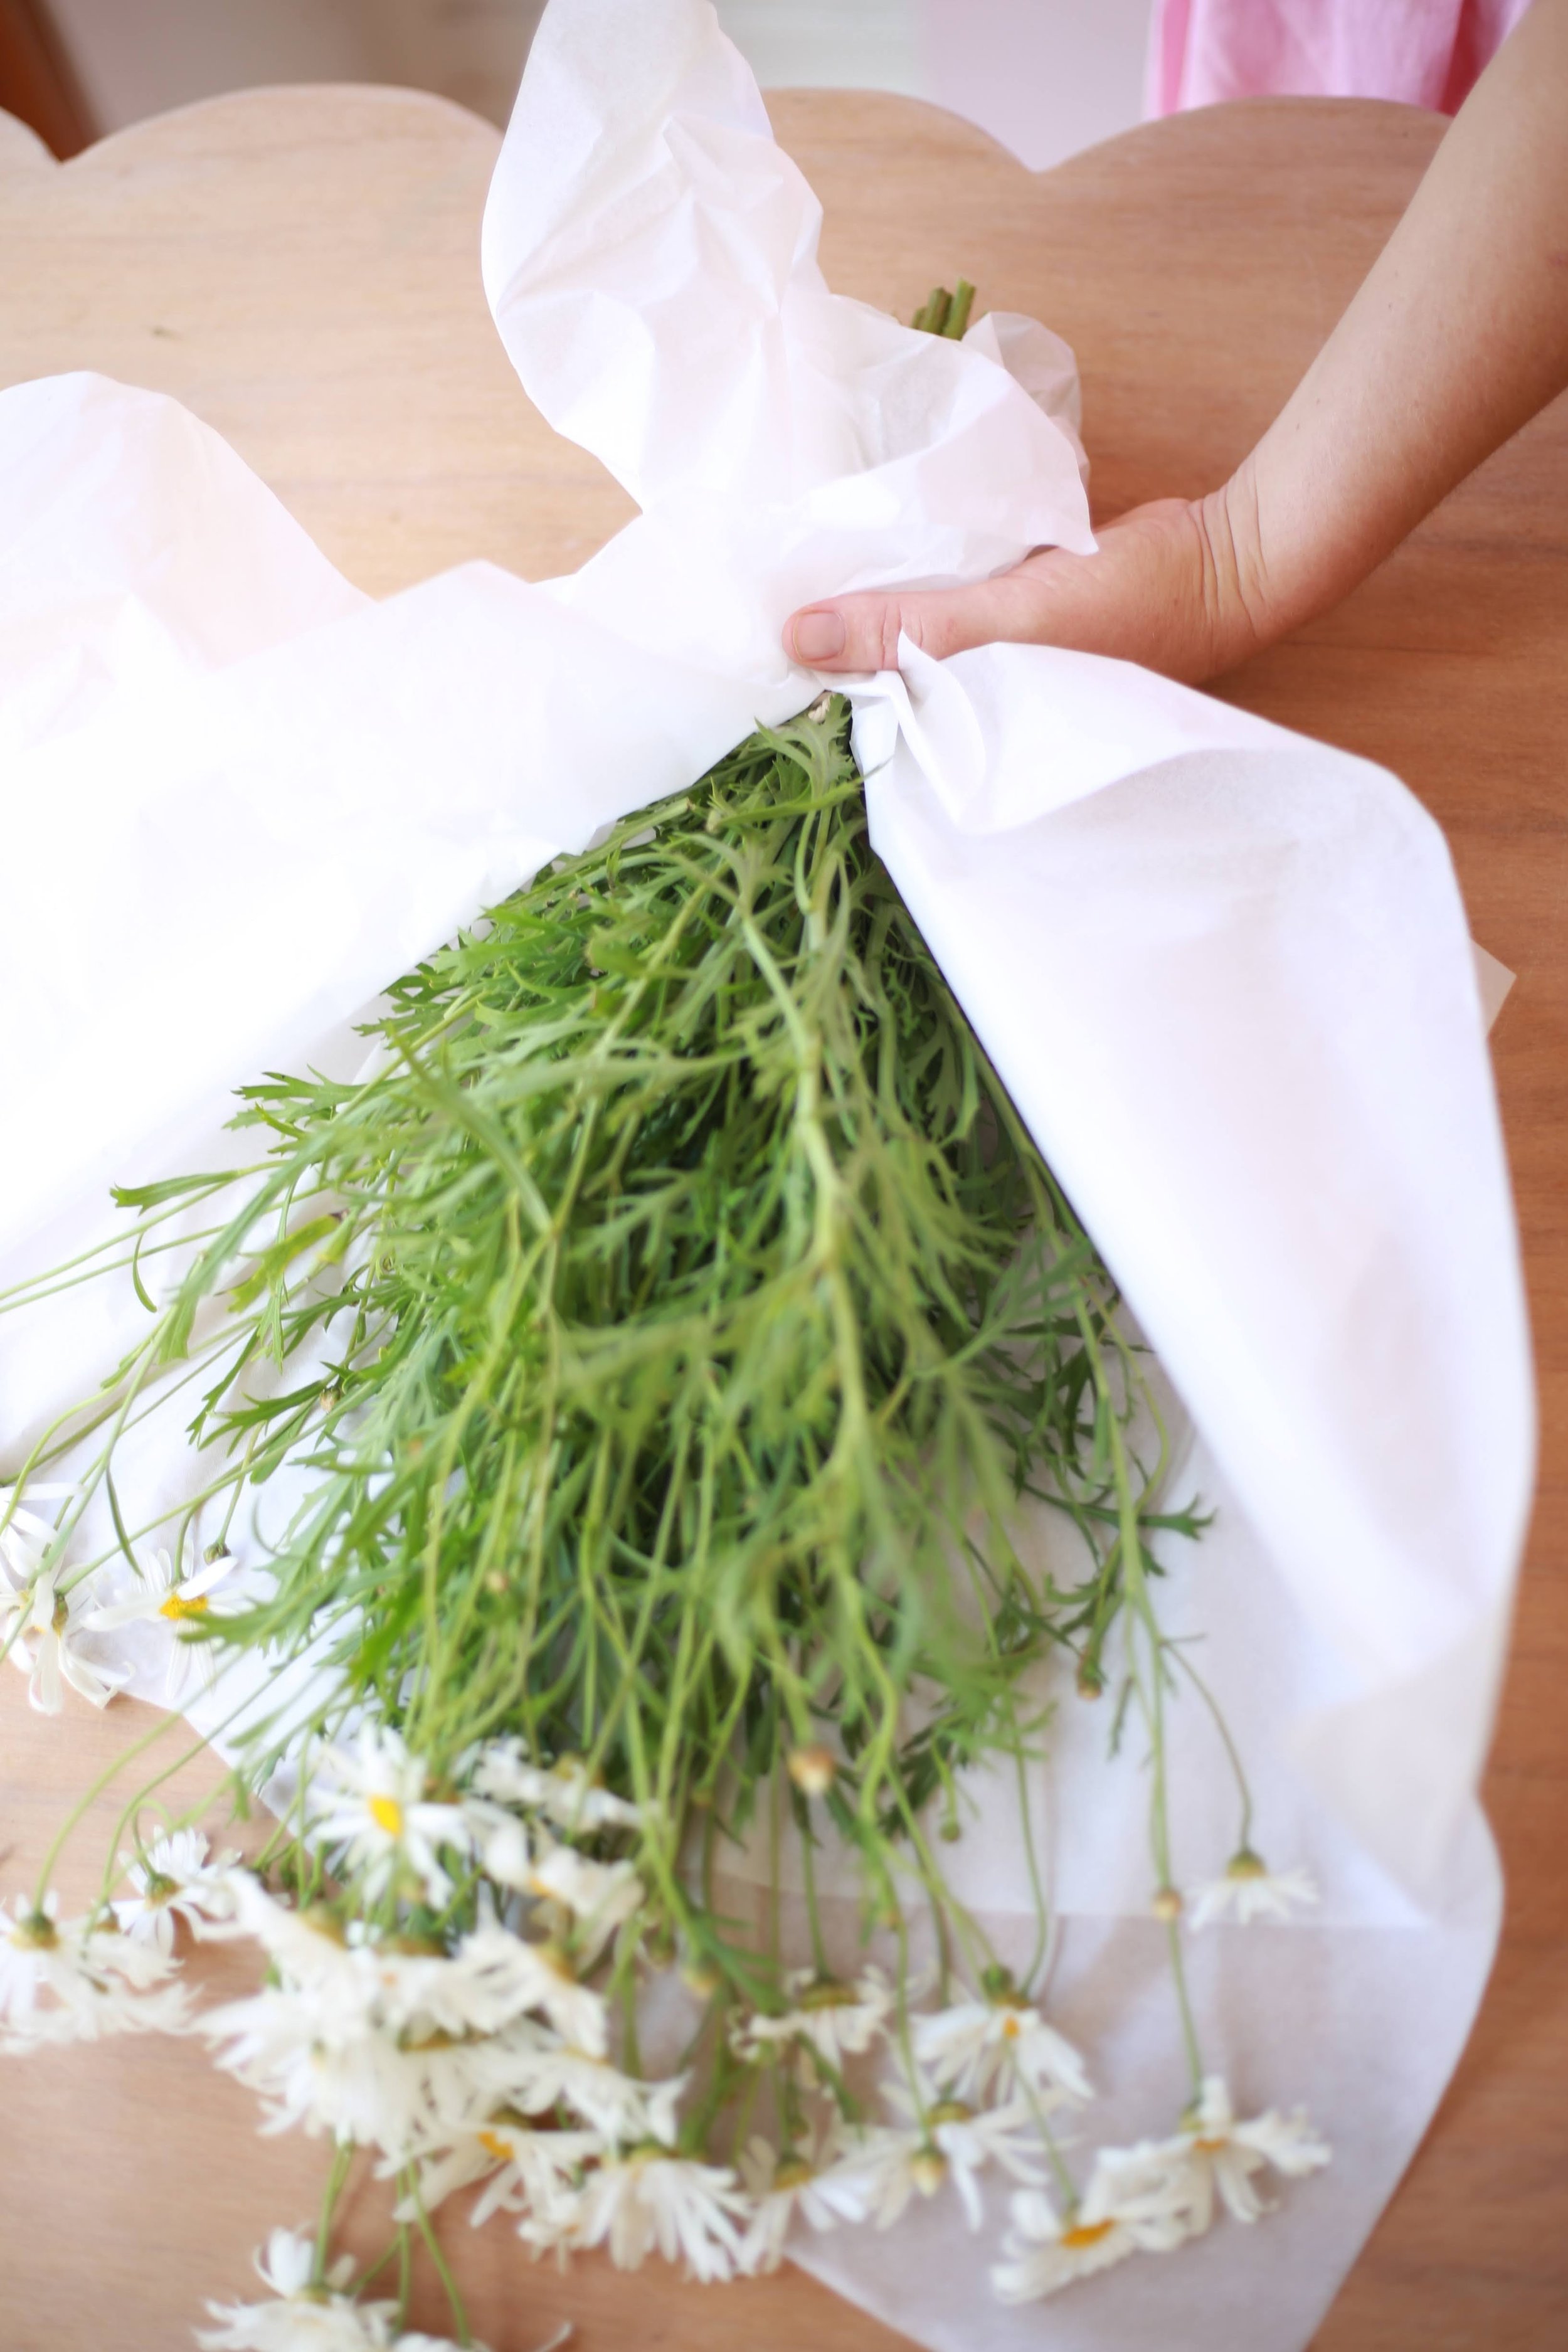
Lay two pieces of tissue paper out on a clean bench - take the top piece and rotate it slightly to the left so that the top left hand corner now sits roughly in the middle of the bottom piece's left edge creating little triangle “peaks.”
Position your arrangement straight across your sheets of tissue paper so that the flower heads sit in the middle at the top in between the little “peaks” you have created and your binding point is at the bottom edge of the tissue paper.
Scrunch in the left and then the right-hand bottom corners of your tissue paper to the binding point to create a lovely ‘V’ shape - you can be creatively messy with this just play a little keeping it nice and loose at the top.
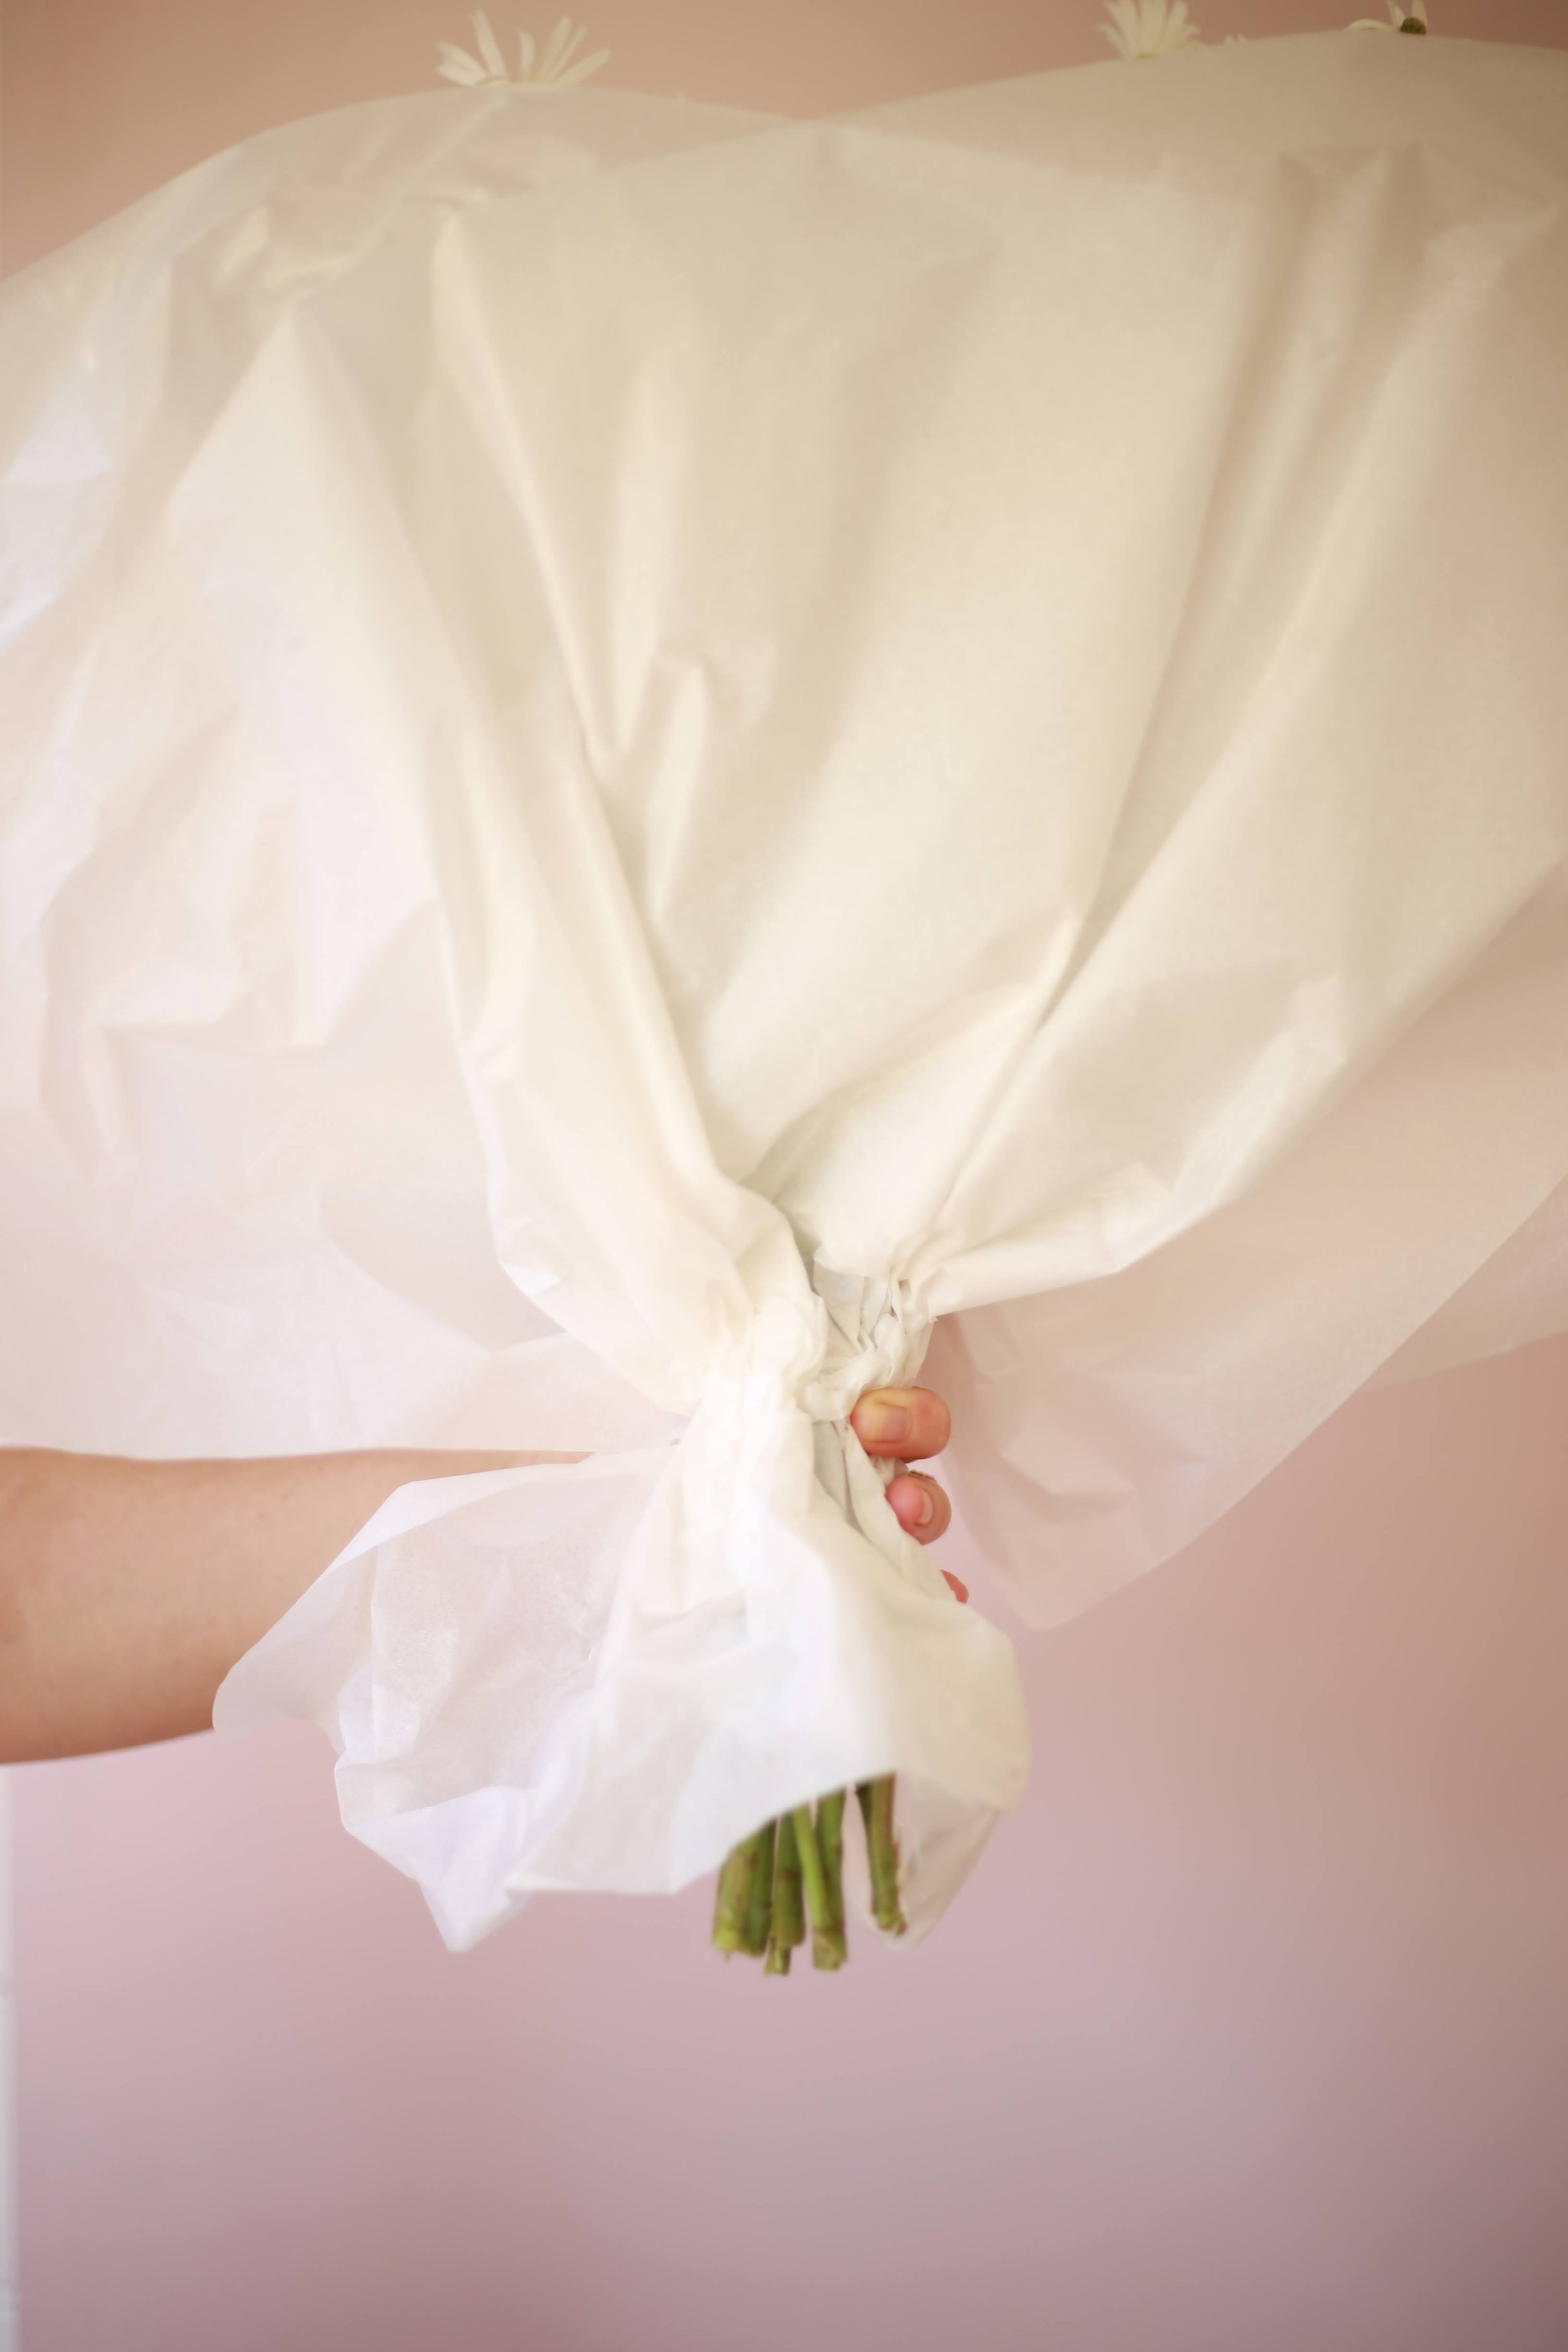
Lay out a sheet of paper on your bench and place your now half-wrapped bouquet diagonally across the paper so that the top of your arrangement sits just at the top left-hand corner and the bottom of the arrangement is to the right-hand side of your sheet. Keeping your two side corners folded out, wrap your paper around your arrangement and scrunch in at the binding point.
Repeat this again with another sheet of paper but angle your top left hand corner slightly to give your bouquet plenty of volume.
Use your favourite ribbon to tie a simple knot at the binding point with long neat ends.

3. Layered Bouquet Wrap
You will need two sheets of paper, some tape or a sticker and ribbon
Lay out your first sheet of paper on a clean bench horizontally, take the bottom right-hand corner and fold it up to the top middle edge to create two “peaks.” Repeat this step with your second sheet of paper.
Lay your arrangement across your paper so that the flower heads sit between the “peaks” you have created and your binding point sits at the folded bottom edge of your shape.
Wrap the left and right sides around your arrangement to create a cone shape.
Lay your arrangement with the first wrap across your second sheet of paper and ensure you space out the peaks evenly before you repeat wrapping the left and right sides in to create that lovely cone shape again.
Secure the cone with some tape or a sticker to hold the paper together.
Use your favourite ribbon to tie a beautiful but simple bow at the binding point for a sweet finish.


Check out “Tips on using the Grande Vila Dish for Foam-Free Floral Installations”
Questions? Ask us in the comments!